What is photomicroscopy
There is a whole world right under your eyes where everyday and unique objects take on a fascinating new appearance. This world is microscopic and even though it is right in front of you, the tiny scale makes it difficult to see the incredible detail.
Photomicroscopy in its simplest form is high magnification photography, which in practice involves the use of a microscope to magnify images followed by using a camera for image capture. With the advent of eBay and other online auction style sites, photomicroscopy is becoming far more accessible to the wider population, allowing anyone to see the incredible detail.
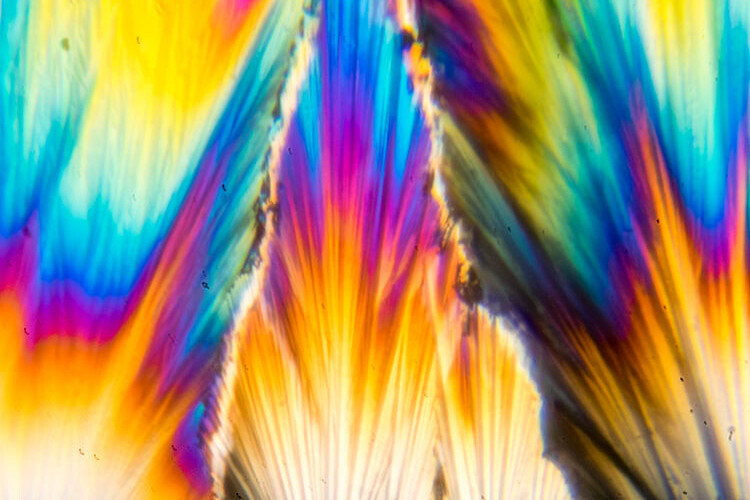
Monosodium Glutamate (MSG) at high magnification by polarized light microscopy.
My passion for photomicroscopy
As a scientist, I spend a significant part of my time conducting investigations which require me to use microscopes. It was this exposure (and my embedded love of science) that got me interested in microscopy. Once I caught the bug, I acquired a microscope from an online auction store and purchased the accessories needed to couple the microscope to my Nikon DSLR. It should be noted that you can easily find accessories to couple with most camera brands, so this is not limited to Nikon.
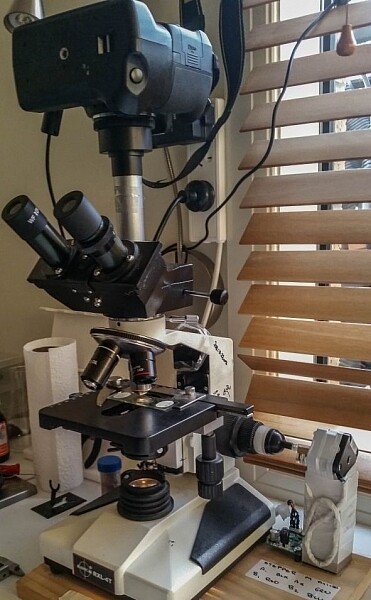
My Nikon attached to the microscope.
Over time my setup expanded, to try and optimize the workflow through the addition of focus stacking software and hardware to counter the very shallow depth of field microscopes have.
How to take photomicrographs
Two-ply toilet paper by transmitted light microscopy.
Photomicrographs are high magnification images which are captured using both a microscope and a camera, in my case a Nikon D5300 DSLR. First, you need to find an object that can be imaged and prepare it.
Because the depth of field is so narrow, most item(s) need to be cut into thin slices or focus stacked to get an adequate depth of field. Once you have found the item you want to photograph, it is then a case of putting it under the microscope on a glass slide, setting the light to evenly illuminate the item and setting your camera to take the image.
One point to note is that many entry level DSLR’s (including the Nikon D5300) do not meter with microscope adapters. As such, to capture an image you will need to have the camera in Manual mode and use trial and error to adjust your shutter speed to expose the image properly.
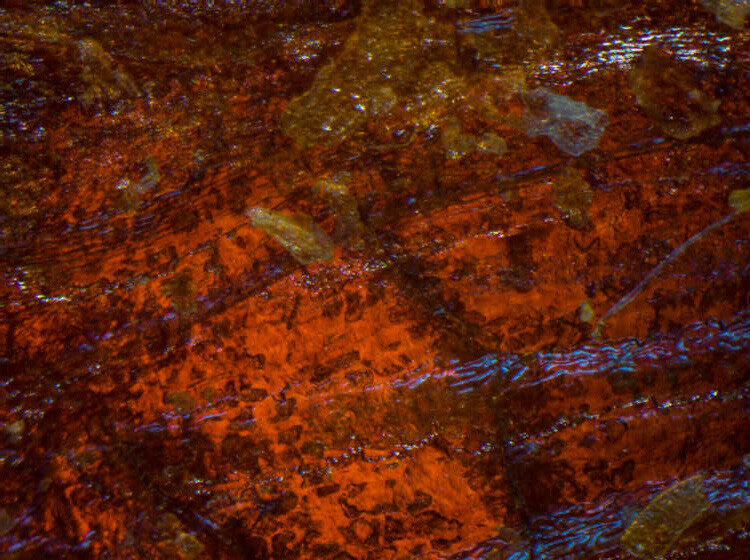
Dried chili flake by transmitted light microscopy.
What items look great under the microscope?
A significant number of everyday objects look incredible under the microscope, some of these can be found in the kitchen, while others are more likely to be found outside. Here are a few ideas:
- Insect wings
- Pine needle cross-section
- Lake water creatures (e.g. water fleas)
- Granules of sand
- Onion skin
Sand grains by transmitted light microscopy (and focus stacked).
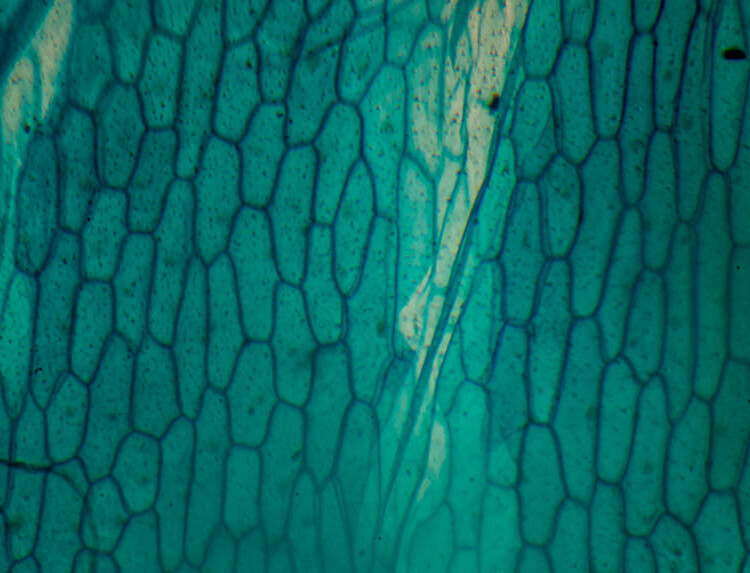
Onion skin by transmitted light microscopy (and focus stacked).
When you start to add polarization to the mix, a number of chemicals take on a new life, some of these are every day, while others are more unique:
- Caffeine
- Menthol
- Nicotinic Acid
- Benzoic Acid
- Stearic Acid
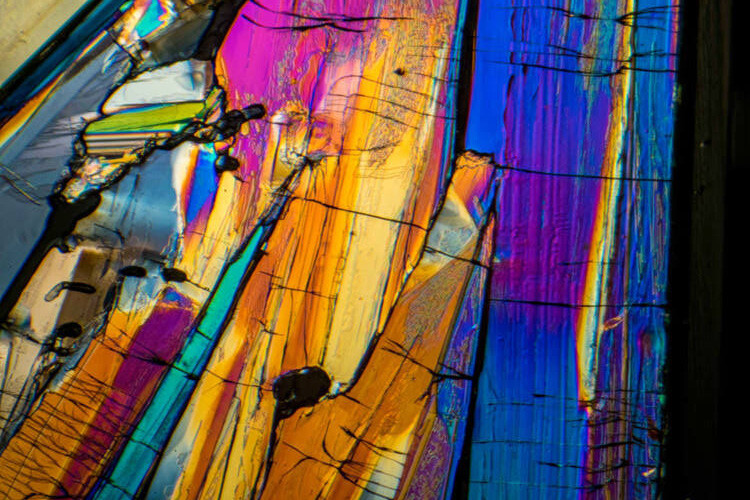
Benzoic acid by polarized light microscopy.
Caffeine by polarized light microscopy.
Tips and tricks for photomicroscopy
As with photography, lighting is essential for photomicroscopy. Microscopes essentially have two types of lighting. One is transmitted lighting which is where the light is shone up through the item. The second type of lighting is where light is shone on the item which is known as reflected lighting. Transmitted lighting is best for transparent samples, while reflected lighting is best for opaque samples.
Using a polarizing filter retrofit will make many chemicals under the microscope come to life due to a property called birefringence. This property is where the refractive index of a material changes based on the degree of polarization and light, leading to many different colors within chemical crystals.
The depth of field in photomicroscopy is VERY shallow, as such you may need to either use thin slices of a material or do focus stacking to achieve a suitable depth of field. There is a range of software packages which can help with focus stacking, these include; Helicon Focus, Zerene Stacker and Photoshop.
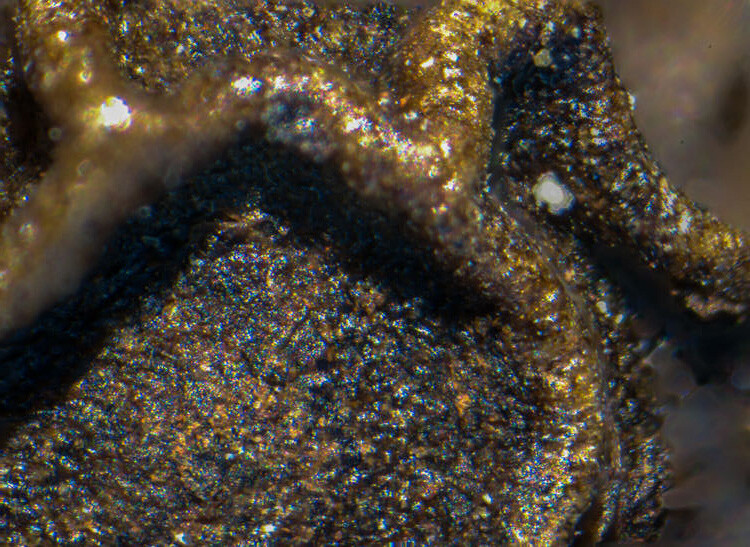
Peppercorn by reflected light microscopy.
A few more images
Here are a couple more example images.
Absorbent Wipe by reflected light microscopy.
Butterfly wing by dark field microscopy.
Glutamaic Acid
Sponge
Have any idea(s) on what might look great under the microscope? Let us know in the comments below, please.
The post How to Photograph the Magical Microscopic World – Photomicroscopy by Travis Hale appeared first on Digital Photography School.
it's from Digital Photography School http://digital-photography-school.com/microscopic-world-photomicroscopy/
via Travis Hale
No comments:
Post a Comment