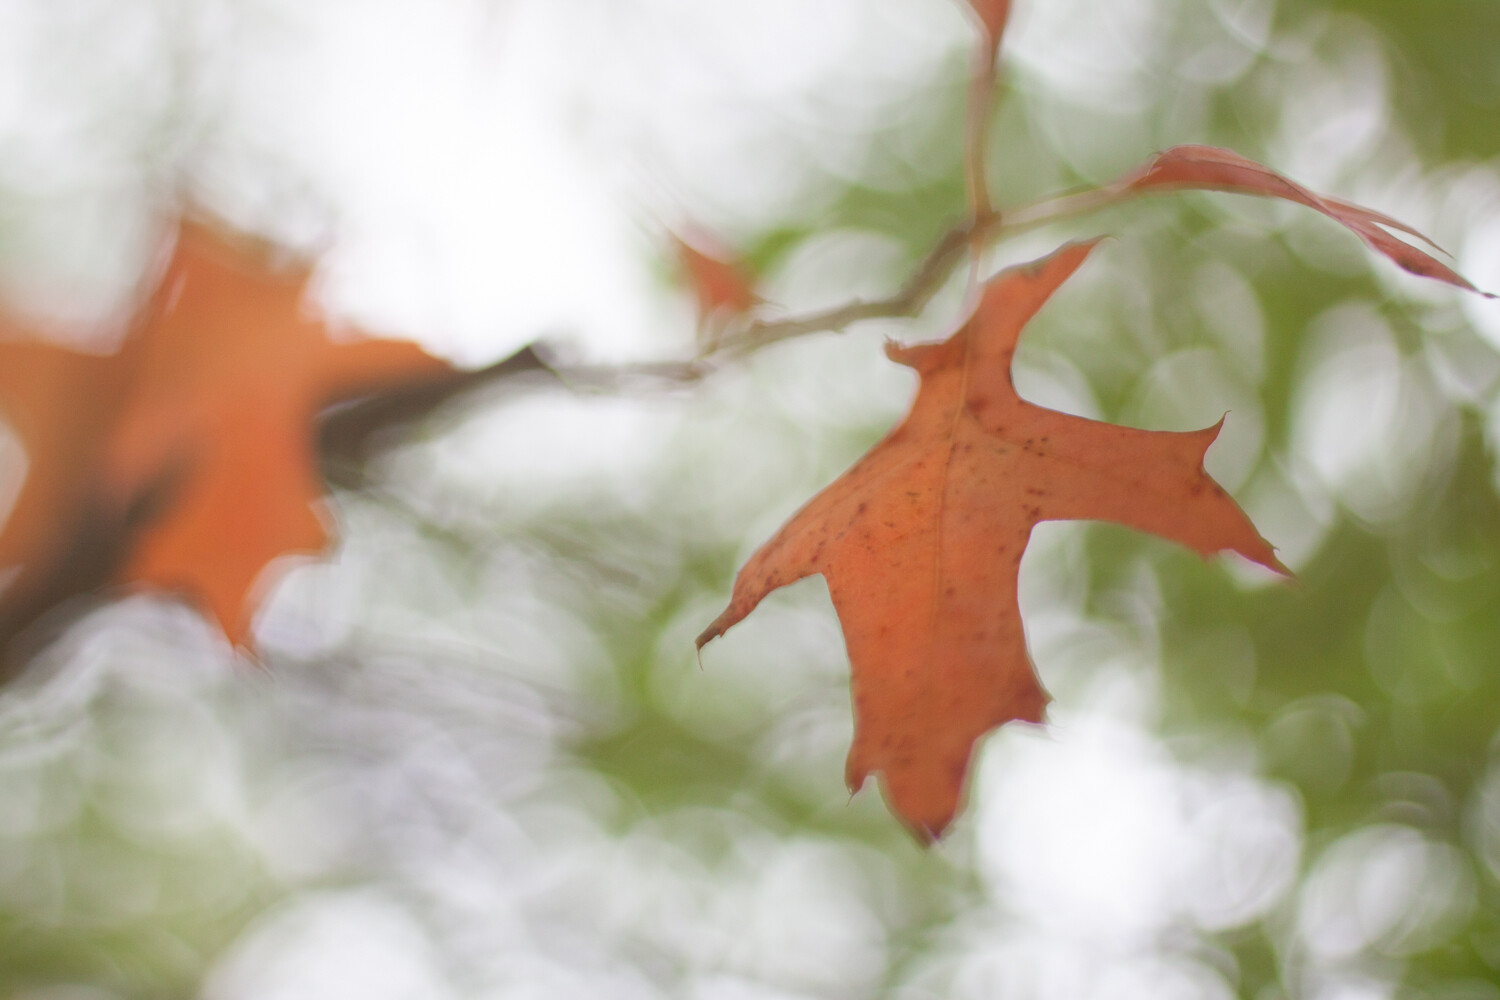
Working with natural light can seem daunting. Yet as a macro photographer, I love natural light. I’ve spent years studying it, playing with it, observing it, and watching it fall.
I use it in all of my photographs. In fact, the last time I picked up a flash was over five years ago.

But how do you take advantage of natural light? Are there some simple principles that can be learned and quickly applied, so that you can take stunning macro photographs in no time?
Actually, yes!
In this short tutorial, you’ll learn all about natural light for macro photography. I’ll explain the types of natural light that I like, the types that I avoid, and how you can best use natural light in your own photographs.
When you’re finished reading, you’ll have the know how to use natural light like a pro!

Five Types of Natural Light in Macro Photography
There are five types of natural light that all macro photographers should know:
- Sunny light
- Cloudy light
- Evening frontlight
- Evening backlight
- And evening shade
Let’s discuss each in turn.

Sunny Light
By sunny light, I am referring to the light that you find at noon on a clear day.
It’s very bright, very strong, and really contrasty. So, let me just get this out of the way and state it simply.
Do NOT use sunny light for macro photography!

I couldn’t bring myself to take a photograph in direct sunlight. I just dislike it too much! So I photographed this clematis in the evening.
I know that it’s very tempting. After all, bright sunlight is very powerful, and everyone loves to get out on sunny days.
The problem, however, is that direct sunlight is extremely tough for cameras to deal with, resulting in blown out (that is, totally white) highlights and underexposed (very dark) lowlights. It also creates shadows that are unpleasant to look at.
Now, there are some genres of photography that make use of a sunny type of light. Street photography, for instance, relies heavily on the gritty, contrast-heavy look that sunny light provides.

Macro photography, however, requires softer light such as the next type of light.
Cloudy Light
Cloudy light is pretty self-explanatory. This is the kind of light when there are clouds, at any time of the day.

What does this mean for your photography?
Clouds diffuse the light, causing it to become pleasant and soft. This is an ideal type of light for bringing out colors in your subject. I work a lot with flowers, and I go crazy over cloudy light.
There’s nothing better than a nice cloudy day for flower photography.

I photographed this flower under cloudy skies.
Therefore, if you enjoy doing flower-focused macro photography, cloudy light is for you. Shooting in cloudy light will ensure evenly illuminated subjects, lovely colors, and really pleasing images.
Yet sometimes you might want to create images which are slightly less soft. You might want to work with more striking light, which brings us to . . .
Evening Frontlight
Evening frontlight is found during the golden hours of photography. The golden hours are the first two hours after sunrise, and the final two hours before sunset.
During this time, the sun casts a beautiful golden glow over the world. If you venture outside, and you make sure that the sun is behind you (point your shadow at your subjects), you’ll find that you’re looking at a beautiful landscape.

Is this type of light good for macro photography?
In a word, yes. Such natural light tends to look lovely and soft when rendered by a camera.
I must admit, however, that I am not the biggest fan of evening frontlight. I find that it’s a bit too bright. I also prefer more dramatic lighting. Which brings me to my favorite type of light.
Evening Backlight
Evening backlight is extremely similar to evening frontlight. Except, rather than having the sun behind you, you have it directly in front of you.
I love evening backlight for macro photography. I’m drawn to its dramatic presence and warmth. I suggest that you try it, yourself.

I photographed this aster in evening backlight.
To use evening backlight, you simply point your camera into the light. I recommend placing the subject between yourself and the setting sun so that the sun is obscured by the subject. Or put the actual sun slightly outside the image, so that it can be felt rather than seen.
Of course, these images aren’t for everyone. But I personally find them to be stunning!

Yet if you’re looking for something a little less punchy, I do have one final recommendation.
Evening Shade
Evening shade is pretty self-explanatory, as well. Your subject is shaded by some object (a tree, a building, the photographer) in the evening.
What makes evening shade natural light so special? I like the evening shade for one specific reason.
If you can shade your subject while using an unshaded background, your images will really pop. The background will be rendered as liquid gold, while your subject is lit fairly evenly.

I photographed this daisy in some evening shade. The background was lit by the setting sun.
Don’t believe me? Try it!
Conclusion
Natural light may seem difficult to work with, but I hope that after reading these tips, you are feeling far more confident in your abilities.

Simply remember to avoid sunny light, and you’re halfway there. Use cloudy light if you want soft, evenly illuminated subjects and beautiful colors. Use evening light if you want a bit more drama.
Which type of natural light do you prefer? Share your opinions and images in the comments below.

The post A Guide to Using Natural Light for Macro Photography appeared first on Digital Photography School.
it's from Digital Photography School https://ift.tt/2QLGWFe
via Jaymes Dempsey
No comments:
Post a Comment