The post 8 Creative Ways to Photograph Trees appeared first on Digital Photography School. It was authored by Simon Bond.
A favorite subject for many photographers is the tree. Tree’s can be found everywhere, so wherever you are in the world, you’ll have a chance to photograph them. In this article, you’ll see how adding a tree to your composition can add oxygen to your photography! So take a deep breath and learn how inspiring tree photography can be by using these seven different approaches to photograph trees.
1. The lone tree

A lone tree frames a typical landscape scene in southern England.
The lone tree alone in a field or on the brow of a hill really is a photo for the ages. It’s as strong a main subject as you’ll ever take in landscape photography. Whether you position this tree in the center of your frame or the left or right third, the photo is likely to work. The main thing is to ensure the tree is truly isolated and doesn’t have other rival trees in the frame competing for attention. The challenge, of course, is to find such a tree. In some cases, these tree’s are famous like the one at Wanaka lake in New Zealand. The chances are you’ll find a tree near where you live though.
Lens choice
The choice of lens you use may well help you isolate that tree once you’ve found it.
- Wide angle – This type of lens works well when you want to get close to the tree, yet want to show the tree in its entirety. Through the use of this lens you might be able to create a minimalist style photo containing just the tree, the sky, and some fields where the tree is located.
- Telephoto – When that tree is a long distance away, and is perhaps inaccessible because it’s on private land, a telephoto lens could work.Of course, make sure you’re not impinging on someone’s privacy when taking that photo. You’ll also be able to zoom in to isolate a lone tree, which is perhaps near to other trees and removing those other trees from your composition.
2. The tree tunnel
Another popular type of photo is the tunnel. These contain a strong leading line and an infinity point. They’ll also work very nicely with portrait photos, where the model acts as a foreground element in front of this tunnel. When it comes to trees, you’ll find they’re naturally good at creating tunnels. This happens when a mature tree has an arching main trunk, and branches that hand down to the side of the tree. Another place you can see a tree tunnel is a path or road that has trees on both sides, where those trees form a roof of interlocking branches. Photos of tree tunnels like this are usually more dramatic taken at longer focal lengths, where the comprehension that gives will enhance the effect of the trees creating the tunnel.

Tree lines work very well in photography.
3. The change of seasons
As with all things in nature, they’ll change with the seasons. As long as you’re not in the tropics, you’ll be able to see the change in a tree throughout the year. The most powerful way to record this is to choose one composition and photograph it for each of the four seasons. Whether that composition is a single lone tree or a path with trees along it will be up to you.
You don’t necessarily need to make your seasonal set from the same location though. You could choose to show photos of trees in the country you’re from, with clear markers that you’re in a particular country from your photos. Each scene you show can show the different seasons, and show the trees of that country.

Autumn is one of the most popular times to take photos of trees, and with good reason.
4. Applying creative techniques
There are many photography techniques out there which you can try. A lot of these techniques are adaptable to use with tree photography. Here is a selection you could try the next time you photograph a tree:
- Silhouette – This works great with trees, especially those trees with beautiful branches that show the detail of the tree when silhouetted. Silhouettes are relatively easy to achieve. Expose for the sky, and aim towards the sky. The tree should naturally silhouette as long as you’re photographing with the sun in front of you.
- Refraction – Another classic for tree photography involves using a lensball. Here you’ll see an inverted image of the entire tree all captured with a small glass sphere.
- Infrared – Choose a sunny day with some clouds in the sky. You’ll want to choose the summer as well, as this technique needs green leaves on the tree. These photos can be taken with infrared filters or repurposed cameras. You’ll need to adjust the white balance in post processing. Once done, you’ll produce a beautiful dreamscape image.
- Long exposure – The tree itself won’t benefit from long exposure. However, on days when clouds are moving across the sky, this technique looks great. The static tree juxtaposed against blurred moving clouds will work very well.

This is a slightly different take on the lone tree photo, and uses a lensball to achieve it.
5. Details photos
Having taken plenty of photos of entire trees, it’s a good idea to balance this with some detail photos. You’re really spoiled for choice when it comes to the type of photos you take here. All areas of the tree offer potential.
The following ideas can guide you:
- Leaves – Detail photos of leaves could take different forms. You could focus on a single leaf, and produce a bokeh background behind it. You might use a macro lens and focus on all the detail the veins of the leaf give you. Photographs of leaves work very well with the sun shining through the leaf from behind.
- Bark – The texture of bark is a natural fit for a detail photo. Look to side light the bark to get maximum texture in your photo.
- Trunk – The trunk is not just about the bark on the tree. Focus on the root system around the trunk, and all the patterns you can find at the foot of the tree.
- Branches – Looking up works equally well. Interlocking branches make for great pattern photos, especially when silhouetted.

One of the best places to photograph trees is the jungle. This photo show the detail at the tree trunk.
6. Portrait work
The use of trees as backgrounds for portrait photos is a popular idea. There is a good reason for that; much of which is related to the points made earlier in this article. Tree’s have the potential to form natural frames, especially where branches arch back from the trunk towards the ground. A line of trees forms a leading line, one that can draw the eye towards your model.
In the summer months, you’ll find leaves are amazing for creating a natural bokeh background for your portrait. Your model will be able to interact with the tree, perhaps mimicking the shape of the branches. There are many ways trees can add to your portrait work. So using trees for portrait work is another way to use trees creatively.
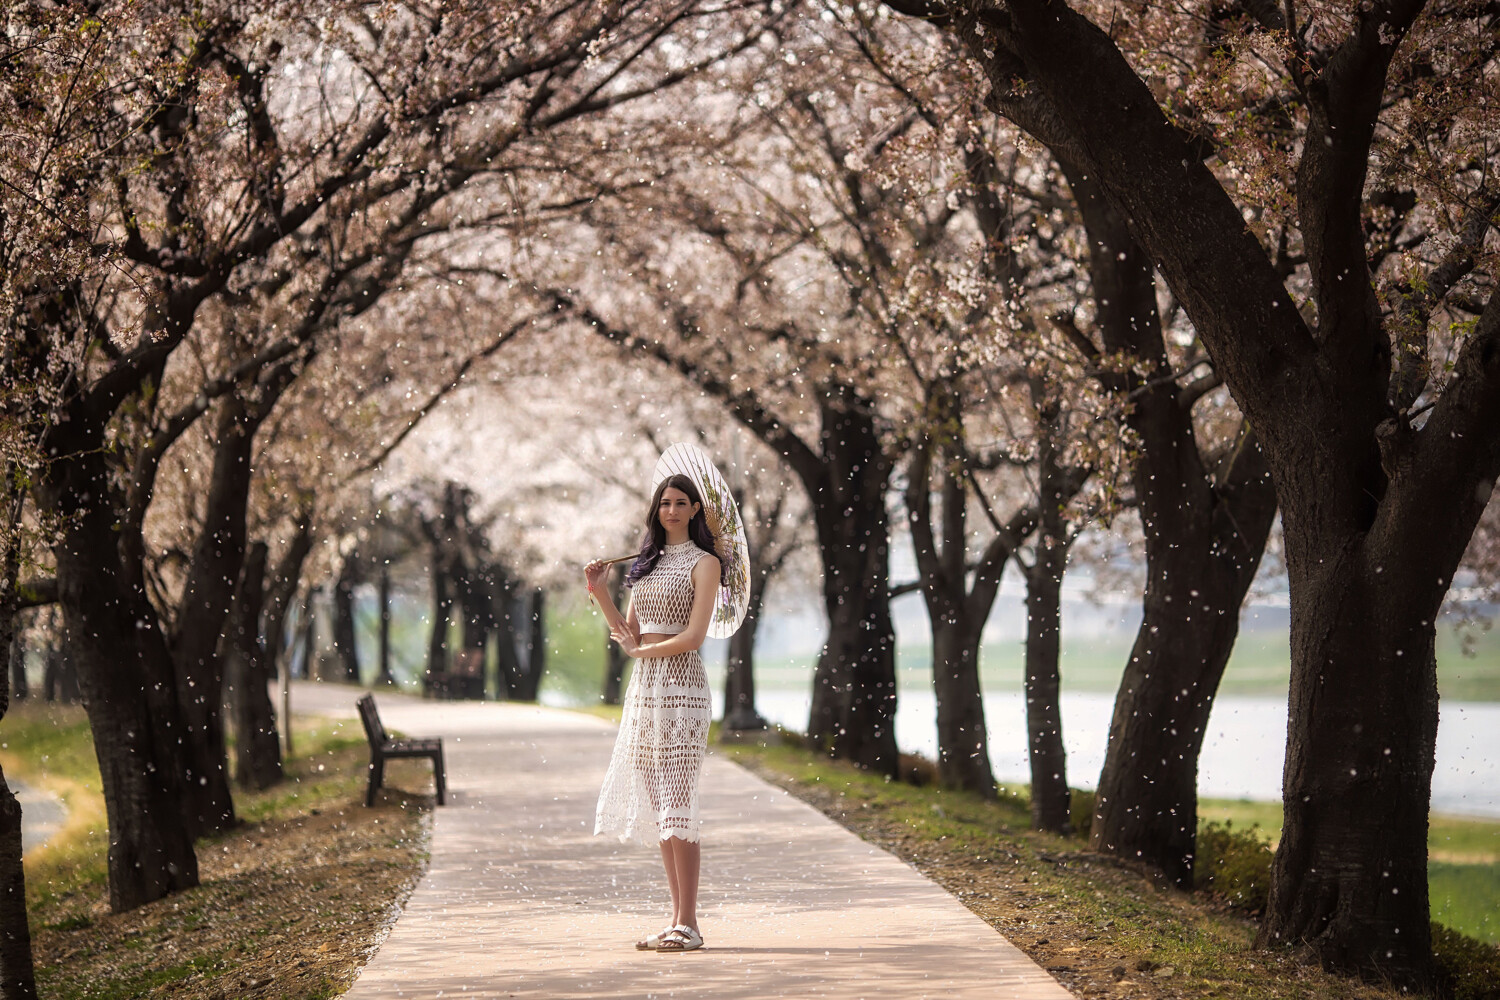
In this photo the model stands under cherry blossom trees as the petals fall down.
7. Different perspectives to photograph trees
Another way to photograph trees more creatively is to change the perspective. There are lots of angles you can use, though you’ll need to be close to the tree to utilize some of these. Take a look at the angles you could be using, and see how you can apply them to your work.
- Low angle – Either from a distance or closer to the tree, photographing from a low angle will give you a different perspective. Foreground elements will show up a lot more in the frame, so you could place flowers in the foreground with the tree in the background.
- Worm’s eye view – Low to the floor, but now looking up at the sky. This is a great angle when there are several trees together, and you stand in the middle between them.
- Bird’s eye view – Should you have a way of getting an overhead photo of the tree, or a canopy of trees, this is a great angle.
- Framing – Look for ways to frame a tree, perhaps use another tree in the foreground to frame a tree in the background.

This photo uses the branch of one tree to frame another tree in the background.
8. Wildlife photography
It goes without saying that a tree is a living ecosystem. Many living things rely on trees for life, including humans. In terms of photography, you could start small by looking for beetles in the soil, or under the bark. Leaves will also be home to a lot of smaller life such as caterpillars. So you’ll be able to get your macro lens out and explore the world of insects.
Of course, larger creatures feed on these insects, and you’ll be able to photograph them as well. You’ll find lots of species of birds, squirrels, and other animals. Photographing these is trickier, and you’ll certainly need a longer focal length. The use of camouflage gear and bird-watching huts also enhance your chance of photographing life within a tree.

In some countries the wildlife in the trees is a little bigger than a squirrel.
Conclusion
A tree is an interesting subject for a photo and has been used by photographers many times to create photography projects. In this article, you’ll have seen several methods you could use to photograph a tree.
Are there any in this list that interest you? What other approaches to tree photography have you used that aren’t discussed here?
At Digital Photography School, we’d love to see examples of your tree photography, together with your thoughts about this article.

The post 8 Creative Ways to Photograph Trees appeared first on Digital Photography School. It was authored by Simon Bond.
it's from Digital Photography School http://bit.ly/2W9H3A1
via Simon Bond
No comments:
Post a Comment