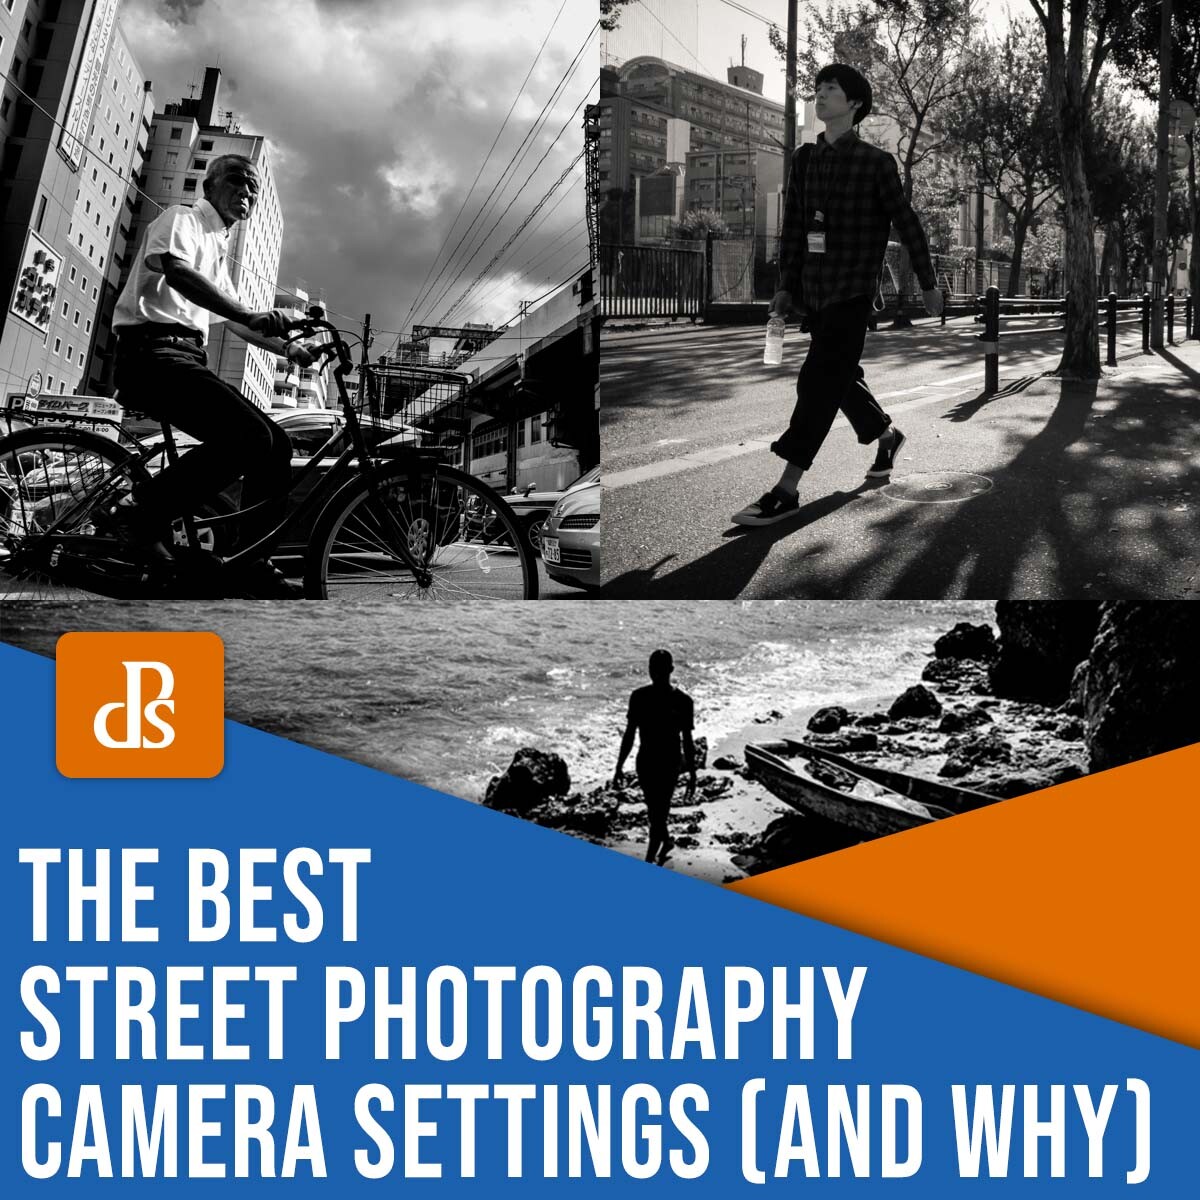
The post The Best Street Photography Settings (And Why) appeared first on Digital Photography School. It was authored by Olivier Duong.
What are the best street photography settings?
Street photography can be tricky, but as an experienced shooter, I’ve spent a lot of time experimenting with different settings. Over the years, I’ve determined what works – and what doesn’t. That’s why, in this article, I’m going to share my favorite settings for street shooting, including:
- The best autofocus mode
- The best aperture
- The best shutter speed
- (And more!)
So if you’re ready to start setting up your shots like the masters, then keep reading.
The best street photography settings: one caveat
Before I start discussing my favorite street photography settings and how they’re great for capturing photos on the fly, let’s get something straight:
If you have certain street settings that work for you and get you the shots you’re after, then by all means, keep using them. You’ve found the settings that fit you best, and you should probably stick with them.
After all, there’s no single set of all-around amazing settings. Instead, what I am presenting in this article are the tried-and-true settings that most street photographers prefer today and that past photographers have loved, but that might not resonate with you.
So read this article carefully and consider my suggestions. If they work for you, great! But if they don’t work for you, that’s okay, too, and you should continue to shoot with pride.

The best focus settings for street photography
Did you know that the best way to focus in street photography is faster than autofocus?
I know, I know. You’re probably wondering: what could be faster than the latest autofocus, with its Eye AF and snazzy tracking algorithms?
I’ll tell you:
Prefocusing, also known as zone focusing.
You see, many of the best street photographers simply prefocus their lens a few feet in front of the camera, make sure their subjects are within the prefocused zone of sharpness, then hit the shutter button.
Check out this illustration, which includes several possible prefocus zones:

You see, by manually focusing the lens in advance, the photographer can ensure that either the blue zone or the red zone appears in focus all the time. That way, if a subject walks into the prefocused zone, the photographer can grab a sharp shot without needing to fiddle with autofocus settings.
Because here’s the thing:
Even if you have the fastest autofocus in the world, there’s always going to be a focusing delay. Plus, the autofocus might miss your main subject and hit another subject instead.
(With people coming toward you, the AF will likely focus on the closest person, which might not be the person you want to focus on. So you’ll need to focus and recompose, which takes time, and once you’re ready to actually nail focus, the moment will likely have passed and you’ll have missed your shot.)
Zone focusing eliminates those problems because a zone is like a force field in front of your camera. Anything that enters the force field will be in focus, which is pretty darn nifty, right?
How to set up zone focusing
To set up your prefocused zone, you’ll need to determine the type of shots you want to take.
So ask yourself: Do I want photos of close-up subjects, or do I want to shoot people from a distance? That will determine where you need to focus.
Let’s say you want to take a few shots with your subject less than one meter away. All you need to do is to put your lens like so:

The aperture is at f/16, so you should put the marking on the left to 0.7, then look at the “16” marking on the right. Do you see how it’s at “1.2”? That tells you that everything between 0.7 to 1.2 meters will be in focus.
The way aperture works, the farther away you are, the larger the depth of field, so putting the point of focus at one meter will keep a lot of space in focus.
And if you want to photograph people over a meter away, you can put the leftmost “16” to “1” and look at the rightmost “16” to determine your most distant area of focus.
“But my lens doesn’t have those marks,” you protest. That’s where a tool like DOFMaster comes in handy:

Simply select your camera from the dropdown menu, then dial in your lens’s focal length. Pick your f-stop (I’ll discuss this more in a later section), set your ideal subject distance (i.e., point of focus), then hit Calculate.
On the right-hand side, you’ll see your focusing zone (it will correspond to the near limit and far limit calculations). If you like the focusing zone, then manually focus at the subject distance and get shooting. If you don’t like the focusing zone, then feel free to adjust your f-stop, your subject distance, and even your focal length until you get a pleasing result.
Note: When you select a focal length and an aperture, the calculator will also give you the hyperfocal distance for those settings, which is the point at which you can focus for maximum depth of field. Set your lens to the hyperfocal distance, and everything from half that distance to infinity will stay in focus – which is perfect if you want to keep as much of the frame as sharp as possible.
In fact, most street photographers I know set their lenses to focus at the hyperfocal distance. It’s only when the light starts dropping that they’ll start to widen the aperture and rein in their point of focus; that way, they can keep their exposures looking bright and keep their subjects sharp.

The best aperture for street photography
I’ve talked lots and lots about zones and points of focus, but you may be wondering:
What aperture should I use for street photography?
Dial in the narrowest aperture you can afford. Use f/8 as a starting point, but if you can go narrower, do it. As I mentioned above, when the light starts to drop, you may need to widen your aperture to keep a nice exposure, and that’s okay – just be mindful of how this will affect your zone of focus.
The best shutter speed and ISO for street photography
Once you’ve chosen your focus and aperture, what about your other settings?
You’ve got a few choices. First of all, you can use Aperture Priority mode, so your camera will automatically choose the shutter speed (though you can still adjust the latter via exposure compensation). Or you can use Manual mode and select the shutter speed (and the ISO) yourself. Either option is fine, so try them both out and see what you think.
In terms of shutter speed specifics, I recommend staying above 1/125s. Stuff usually happens fast on the streets, and below 1/125s there is a risk of camera shake. If your subject is moving quickly (e.g., you’re shooting a biker), you may want to boost the shutter speed to 1/250s or faster to prevent motion blur.
At this point, all that’s left is the ISO. You could consider Auto ISO with some sort of cap – ISO 1600 is a good choice. Or you could start at around ISO 200, then increase it as required. Many street shots actually look good at high ISOs – the grain is nice, especially in black and white – so don’t worry too much about pushing your ISO beyond its standard acceptable value.

The best street photography settings, recapped
Here is my list of the best settings for street photography:
- Shooting mode: Aperture Priority
- Aperture: f/8
- Point of focus: the hyperfocal distance, or within your selected zone
- Shutter speed: 1/125s or faster
- ISO: 200, or Auto ISO capped at ISO 1600
One of the strengths of this system is that it accounts for rapid transitions. For instance, imagine you are walking out of a building, heading from a shadowy interior to a sunny street. If you are shooting in Manual mode rather than Aperture Priority, you probably need to increase your shutter speed by three stops – and during this time, you may miss out on an incredible opportunity. However, if you’re using Aperture Priority mode, your camera will make the shutter speed adjustment for you, and you’ll instantly be ready to shoot.
Make sense?

The best street photography settings: final words
There you have it:
The street photography settings that will get you the most keepers, and that have been used consistently by the famous photographers of the past (and present).
So try them out. See how you like them. Of course, it’s still possible to take great street photos with other settings – so if you decide to go a different route, that’s okay, too.
Now over to you:
What do you think of these street settings? Do you have other settings that you prefer? Share your thoughts in the comments below!
Table of contents
Street Photography
-
GENERAL
-
PREPARATION
-
SETTINGS
-
What are the Best Street Photography Camera Settings and Why
- The best street photography settings: one caveat
- How to set up zone focusing
- The best shutter speed and ISO for street photography
- The best street photography settings: final words
- The best street photography settings: one caveat
- How to set up zone focusing
- The best shutter speed and ISO for street photography
- The best street photography settings: final words
-
LIGHTING
-
COMPOSITION
-
GEAR
-
ADVANCED GUIDES
-
CREATIVE TECHNIQUES
-
POST-PROCESSING
-
BUSINESS
-
INSPIRATION
-
OPINION
The post The Best Street Photography Settings (And Why) appeared first on Digital Photography School. It was authored by Olivier Duong.
it's from Digital Photography School https://ift.tt/2WtSbtU
via Olivier Duong
No comments:
Post a Comment