The post Spider Web Photography: 11 Tips for Magical Pictures appeared first on Digital Photography School. It was authored by Darren Rowse.

If you’re looking to do beautiful spider web photography, you’ve come to the right place.
While capturing stunning pictures of spider webs can be a challenge, with a little bit of know-how, you can start taking outstanding images right away. And that’s what this article is all about: giving you the tools you need to create consistently excellent results. I’ll also share plenty of sample spider web photos along the way to provide you with inspiration.
Sound good? Let’s dive right in!
1. Shoot on a still day
Spider webs are incredibly light, and if there’s even a hint of wind, they’ll sway back and forth as you photograph them.
This causes three major issues:
- If you’re using a slow shutter speed (which is often necessary when shooting at close distances, especially in the early morning and late afternoon), the moving web will create motion blur.
- If you’re focusing at high magnifications (e.g., you’re using a macro lens), then you’ll struggle to lock focus.
- Any movement will shake off moisture and may even break the webs.
So you must take care to shoot only on the stillest of days. Check your local weather forecast, and aim for 5 MPH of wind or less. Also, look for spider webs in the early morning; just after sunrise tends to offer little wind, plus the light is often beautiful and golden.
2. Focus manually (and use your highest-magnification lens)

Spider webs are very small, which means that you’ll need to focus close if you want to capture detail.
Unfortunately, the closer you get, the worse your camera’s autofocusing system becomes. So as you approach a spider web, your lens will start to hunt back and forth – and it may fail to find focus entirely.
That’s where manual focus comes in; it lets you achieve sharp photos by adjusting the focusing ring on your lens barrel. Note that, to focus manually, you’ll generally need to flick a switch on the side of your lens or camera (this is often labeled with AF/M).
By the way, all lenses come with a maximum magnification, which is the level of detail you get when focusing close to your subject. If you’re after magnificent, high-magnification images, you’ll want to pick a lens that’s capable of high-magnification focusing. The best magnifiers are macro lenses, but if you don’t own one of these, that’s okay. Just check the spec sheets of all the lenses you do own, and figure out which offers the highest magnification.
You might also consider purchasing a close-focusing filter or extension tubes, which will increase your lens’s magnification capabilities.
3. Be an environmentally friendly photographer
Remember: Where there’s a web, there’s a little (or not so little!) creature that made it.
So take care not to touch or otherwise disturb the webs you come across. You might be tempted to reposition a web with your finger, but resist this inclination; instead, if you’re unhappy with the way a web looks, try getting ultra-close with a macro lens for an abstract composition, or change your perspective for a different result.
4. Find a plain background that makes the web stand out
Beginners often fail to think about the background of their spider web pictures – yet the background is incredibly important.
A good background enhances the image, while a bad background harms (and often ruins) the final result.
But what counts as a good background? For spider webs, I recommend a plain, preferably dark background. In the right light, a dark background will highlight the translucent web, creating a gorgeous, eye-catching photo:

At the very least, make sure the background is non-distracting. Keep colors to a minimum, and aim for large subject-background separation.
5. Carefully choose your aperture (and depth of field)
Spider web photography is all about emphasizing your main subject – the web – while ensuring the background remains unobtrusive and (ideally) complementary.
And one of the easiest ways to emphasize your main subject and de-emphasize the background? Widen your aperture to create a beautiful background blur.
(Notice how the pictures of spider webs throughout this article all feature smooth, blurry backgrounds? That’s deliberate!)
At high magnifications, as long as you have decent subject-background separation (i.e., the background is more than a few inches from the subject), you can achieve a blurry background anywhere between f/1.4 and f/5.6 or so. But if you zoom out for a more environmental image, you’ll need to keep your aperture as low as possible (f/2.8 is a great starting point).
By the way, a wide aperture creates a narrow, or shallow, depth of field effect. This may sound complex, but it simply refers to the amount of the shot that’s in focus; a shallow depth of field keeps a sliver of the scene in focus, while a deep depth of field keeps lots in focus, potentially even the entire shot.
6. Shoot from a head-on angle
Photographing spider webs from all angles can leave you with interesting results. But when you’re just starting out, try positioning yourself directly in front of the web and shooting straight on.
This will enable you to keep the full web in focus, as the distance from your lens to all parts of the subject will be similar – preventing the shallow depth of field effect (discussed above) from blurring out part of the web.
Of course, you don’t always need to keep the entire web in focus. You might also like some shallow depth of field shots from different angles to achieve interesting abstract effects.
7. Don’t forget a tripod (or shoot with a fast shutter speed)
At high magnifications, camera shake is increased – and this can lead to blurry photos.
So you have two options:
- You can bring a tripod into the field, which will keep your camera stable, even at low shutter speeds. This does come with several drawbacks – for one, sturdy tripods can be expensive, plus they can be cumbersome, and at slow shutter speeds you’ll need a truly motionless subject.
- You can shoot handheld and use a fast shutter speed. Here, you’ll want to keep the speed above 1/125s or so (and potentially above 1/160s or 1/200s, depending on the level of magnification and the steadiness of your hands).
Which method is best? That really depends on your preferences and your shooting style. Some photographers like the slow, deliberate nature of tripod shooting, whereas others like the flexibility of handholding. However, if you plan to shoot in low light, you’ll probably need to take the tripod route, unless your camera is capable of low noise at high ISOs.
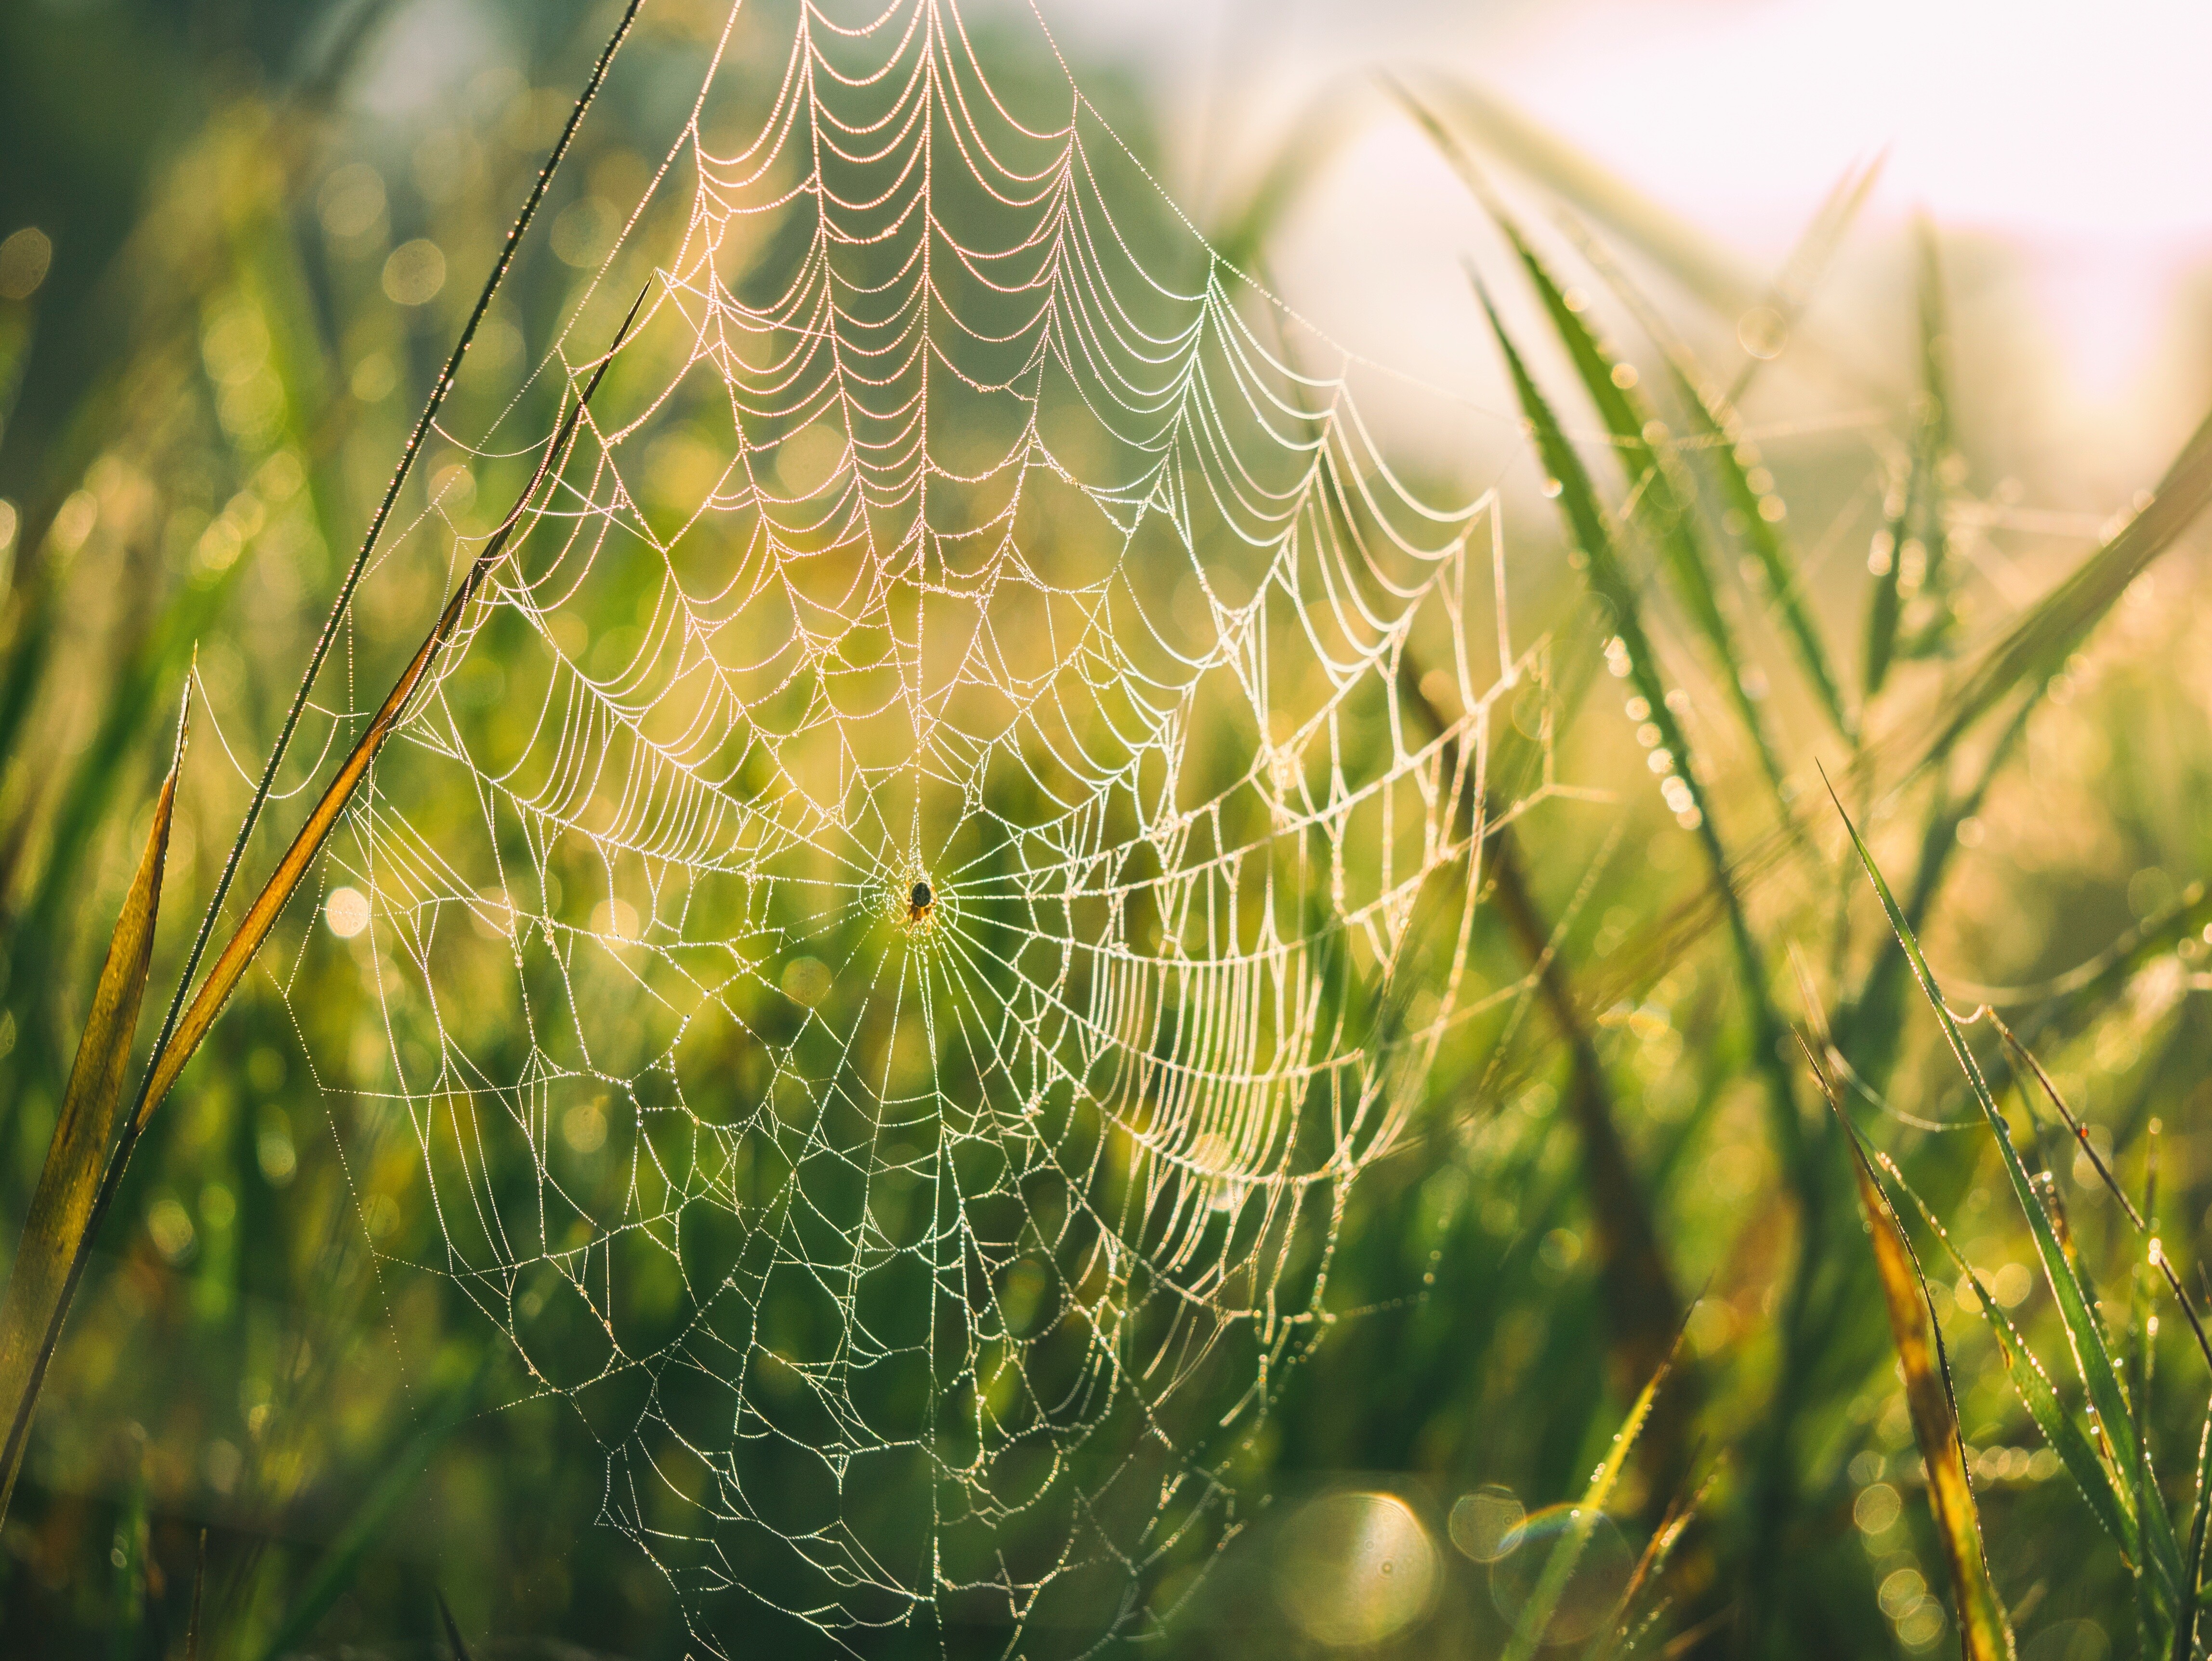
8. Look for webs with dew
Many classic spider web photos include dew or rain droplets, like this:

As you can see, the dew looks beautiful, plus it creates interesting bokeh effects in out-of-focus areas.
I mentioned above that the best time of day for dewy webs is mornings, though you can also venture out after a rainstorm (assuming it’s not windy, of course!).
9. Fill the frame
Here’s a simple piece of compositional advice:
If you want to create original spider web images, don’t shoot from so far back that the web only covers part of the frame. Instead, get in as close as you can to the web – either physically or via your lens’s zoom mechanism.
And if you own a macro lens, make sure to use it; it’ll let you fill the frame much more easily!
Of course, you can capture amazing images that don’t have a frame-filling web. But by filling the frame, you emphasize the main subject, plus you can highlight abstract patterns and even capture images veering into fine art territory.
Also, spend time experimenting with different angles (and test out different aperture values, too, for abstract depth of field effects!).
10. Photograph the spider web from both sides
Sometimes, a spider web can look quite dull and lifeless from one side, while the other side looks gorgeous – either because the light is falling upon it in the right way, or because the background looks far better.
For instance, the image below features morning dew with a beautiful rising sun in the background. This wouldn’t be possible from the other side of the web!

In fact, when you find a good spider web, I recommend always checking both sides of the web before shooting. Also, don’t be afraid to get down on the web’s level, even if it means lying in wet grass or mud. You’ll get a more intimate perspective, plus a low perspective often provides the best backgrounds.
11. Experiment with flash
Here’s your final spider web photography tip:
Bring a flash into the field and use it for interesting images.
Personally, I find that shooting with natural light tends to work best. But sometimes adding artificial light via a flash can illuminate the web nicely and create some good catchlights. This can be especially effective when the light is low; a flash will keep the web sharp (no high ISO necessary!).
If you do grab a flash, consider a ring flash (which mounts to the front of your lens and illuminates the subject evenly). You also have the option to use an off-camera flash, which you can hold in one hand while shooting with the other (or you can hold while positioning your camera on a tripod).
Bottom line: Have fun with the flash, and don’t be afraid to experiment!
Spider web photography: final words
Hopefully, you now feel ready to take some beautiful spider web photos of your own. So remember these tips, grab your camera (and a close-focusing lens), then head outside!
Now over to you:
Which of these spider web photography tips is your favorite? Do you plan to go out and shoot spiders soon? Share your thoughts in the comments below!
The post Spider Web Photography: 11 Tips for Magical Pictures appeared first on Digital Photography School. It was authored by Darren Rowse.
it's from Digital Photography School https://ift.tt/2ZjArCW
via Darren Rowse
No comments:
Post a Comment