The post How to Capture Motion Blur in Photography (6 Tips) appeared first on Digital Photography School. It was authored by Darren Rowse.

Are you looking to capture motion blur in your photography?
While photographing motion blur might seem difficult, it’s actually pretty easy; with a bit of camera know-how, you’ll be taking stunning photos like a pro.

And that’s what this article is all about: giving you the tools and techniques you need to get beautiful results!
Note that motion blur can look great in any photography genre, so don’t try to limit yourself. Instead, embrace the power of the blur!
1. Slow down your shutter speed
Here’s the fundamental motion blur tip:
Use a slow shutter speed.
You see, the reason for motion blur is simply that your camera’s shutter remains open for a significant period of time. In other words: you get motion blur when your shutter speed is long, whereas you freeze the action when your shutter speed is short.
So the number one tip for capturing movement is to select a longer shutter speed.

If your shutter speed is too fast (e.g., 1/4000s), you’re not going to capture much movement. But if you dial in a lengthy shutter speed (e.g., five seconds) you won’t need your subject to move much at all before you start to see blur.
How long should your shutter speed be? Here, the speed of your subject comes into play. A moving snail and a moving racecar will give you very different results at the same shutter speed. The slower your subject, the slower the shutter speed needs to be to create blur.
The other factor that comes into play when determining shutter speed is how much light exists in the scene. A longer shutter speed lets more light into your camera and runs the risk of blowing out or overexposing your image. Below, we’ll cover some ways to let less light in (so you can use long shutter speeds without overexposure concerns).
Bottom line:
There’s no one-size-fits-all shutter speed for motion blur. It’ll depend on the speed of your subject, the brightness of the scene, and how much motion blur you want to capture. The key is to experiment!
2. Stabilize your camera
There are two ways to get a feeling of motion in your images:
- Have your subject move.
- Have your camera move.
But for the type of photo we’re after today, it’ll be the subject that’s moving. In such cases, you need to do everything you can to keep your camera perfectly still. Otherwise, you’ll capture a blurry subject – but you’ll also end up with a blurry background.
How do you stabilize your camera?

A tripod is ideal, but you can also place your camera on some other steady object (e.g., a table or a bench). I’d recommend using a remote shutter release or a self-timer mechanism; that way, you can trigger the shutter without touching your camera (because the more you touch your camera, the more likely it is that you’ll introduce blur).
3. Try Shutter Priority mode
As you know, the shutter speed is crucial to achieving a beautiful blurred look. Even small changes will have a big impact upon your shot – so you should use a camera mode that gives you full control over your camera’s shutter.
You have two options. First, you can switch your camera to full Manual mode. It’ll work well, and it’s a good idea for more experienced photographers – but in Manual mode, you’ll also need to select your aperture and ISO (and you’ll need to make sure that the shutter speed, aperture, and ISO interact to create a perfect exposure). So if you don’t yet feel confident working in Manual mode, you have another option:
With Shutter Priority, you set the shutter speed (and the ISO, if you so choose), but your camera will set the aperture to ensure the shot is well exposed. It’s a very handy mode for motion blur photography because it ensures you get the movement effect you’re after while also capturing generally well-exposed images.

How to compensate for long shutter speeds when there is too much light
Remember what I said about a long shutter speed?
The longer the speed, the more light that will get into your camera, and the brighter your photos will be.
So unless you compensate for this, whenever you try to capture motion blur, you’ll end up with overexposed shots.
Below, I’ll suggest three easy methods for preventing this overexposure.
(Note: A fourth method is to simply wait for the light to change – i.e., for it to get darker. Many shots that incorporate blur are taken at night or at dawn/dusk for this reason.)
1. Use a small aperture
Here’s the first, and simplest, method of preventing overexposure:
Narrow the aperture.
Because the narrower the aperture, the less light that will hit the camera sensor.
If you’re shooting in Shutter Priority, your camera will actually narrow the aperture for you. As soon as it detects a slow shutter speed, it’ll close down the aperture and deliver a well-exposed shot.
But if you’re shooting in Manual mode or Aperture Priority, the aperture can generally be changed via a dial on your camera.
One thing to bear in mind:
Adjusting the aperture won’t just affect your photo’s exposure. Aperture also affects the depth of field, which refers to the amount of the scene that’s sharp. A wide aperture creates a limited depth of field, like this:

Whereas a narrow aperture ensures the entire scene is sharp throughout:

So while it’s easy to combine a deep depth of field with a well-exposed motion blur image, working with a shallow depth of field while also ensuring well-exposed motion blur can be tough. If you’re after a shallow depth of field effect, you’ll need to counteract overexposure another way, as I explain in the next section:
2. Decrease your ISO
If you’ve tried narrowing your aperture and still aren’t getting you the results you need, or if you’re after a shallow depth of field, here’s an alternative method for preventing overexposure:
Drop your ISO.
ISO impacts the sensitivity of your digital camera’s sensor to light, where a higher number will induce greater sensitivity (and therefore a brighter exposure) and a lower number will induce less sensitivity (and therefore a darker exposure).

You can adjust your ISO in Manual mode or Shutter Priority mode, so simply dial in a low ISO (such as 100) and watch as your exposure decreases. Of course, there’s a limit to how low you can drop your ISO; once you get to ISO 100 or ISO 50, your camera won’t allow you to go any further. But it’s always worth checking whether a lower ISO is an option because it’s a simple way to prevent overexposure.
3. Try a neutral density filter
Say you’re after a motion blur photo, but you just can’t get the exposure dark enough. You’ve narrowed the aperture, you’ve dropped the ISO, but your shots keep coming out overexposed.
You still have another, more dedicated option:
A neutral density filter. It’s a piece of glass that blocks light from passing through your lens – sort of like sunglasses – and lets you use a long shutter speed while preventing overexposure.
For example, if you’re shooting a seascape in bright sunlight and you want to blur the water, you’ll end up with a blown-out, overexposed scene – even with a narrow aperture and low ISO. But pop a neutral density filter over your lens, and you can slow the shutter speed right down while keeping a perfect exposure.

(By the way, a polarizing filter can have a similar effect, though it’ll also impact the look of your images by cutting out reflections.)
Note that neutral density filters come in many strengths. You can get a basic, subtle ND filter, one that’ll slightly darken the scene. Or you can buy an ultra-powerful, 10-stop ND filter, which will allow you to dramatically lengthen your shutter speed in bright sunlight.
A quick note: two more creative techniques to try
If you want to capture images with motion blur but you’re looking to come away with uniquely artistic results, here are two other techniques to consider:
- Slow sync flash. This lets you capture a relatively sharp subject while creating a moving, blurry background, and it’s a great way to create in-your-face shots.
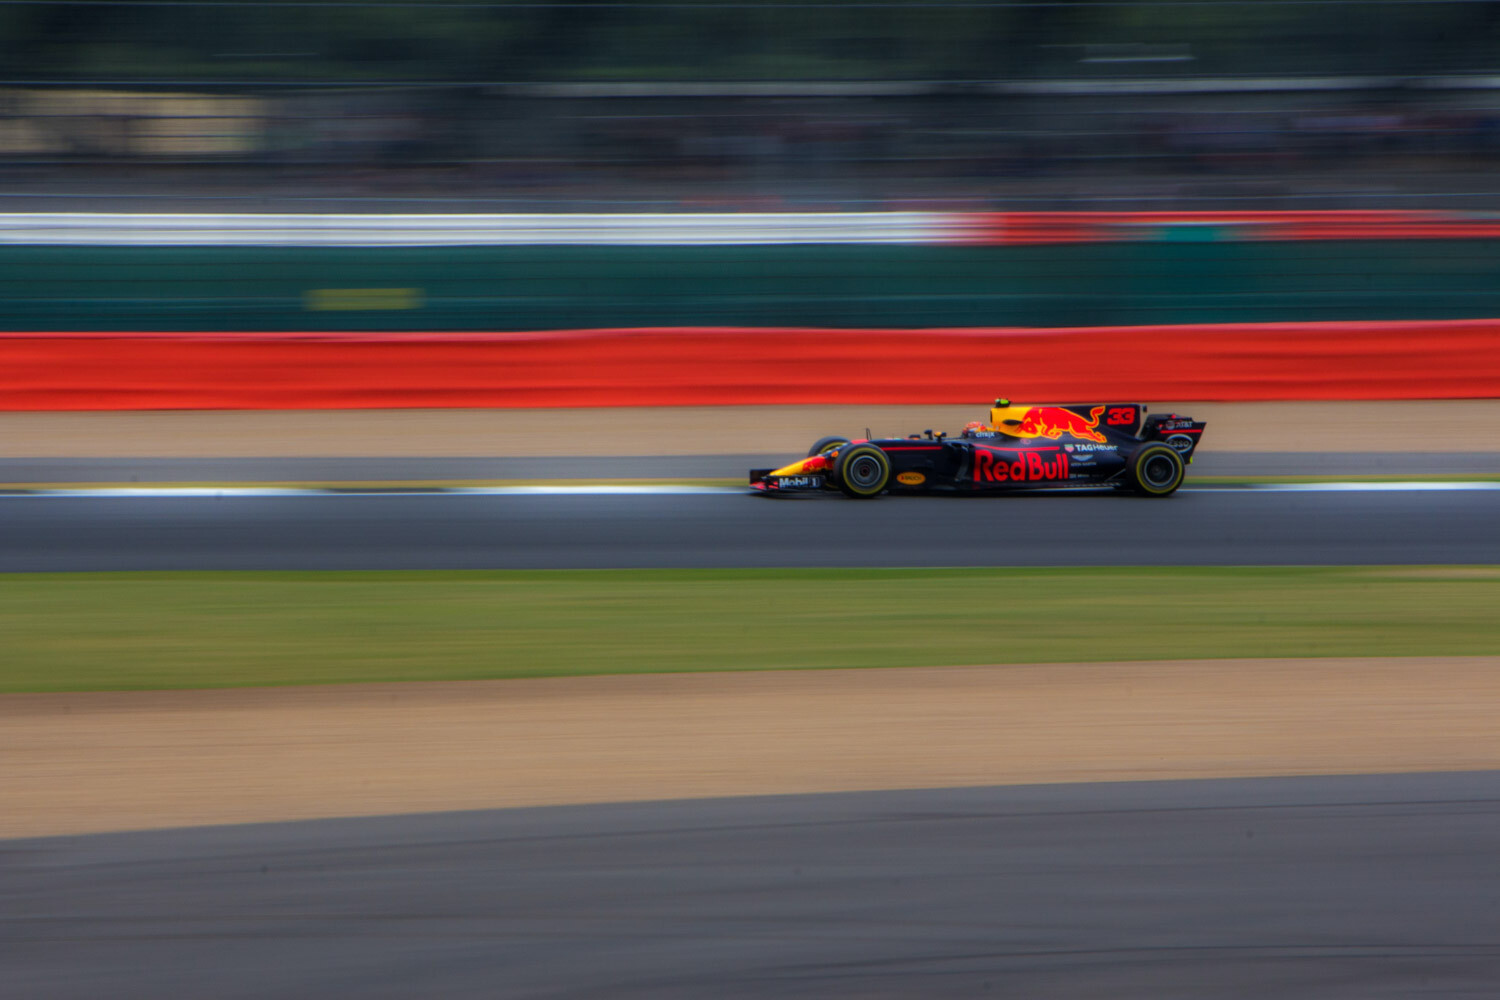
- Panning. Here, you simply follow a moving subject with your camera; the subject will generally come out nice and sharp, while the background stretches and blurs.

Motion blur in photography: conclusion
Well, there you have it! Six easy tips to capture motion blur in photography.
So remember these tips. And the next time you’re after some creative motion blur photos, you’ll get stunning results!
Now over to you:
Have you tried taking motion blur photos? Did it go well? Do you have any tricks or tips? Share your thoughts (and images!) in the comments below!

The post How to Capture Motion Blur in Photography (6 Tips) appeared first on Digital Photography School. It was authored by Darren Rowse.
it's from Digital Photography School https://ift.tt/3whYtZw
via Darren Rowse
This is a very helpful information. Thank you very much for your sharing.
ReplyDeleteClipping Path Asia